
Last updated October 30, 2026
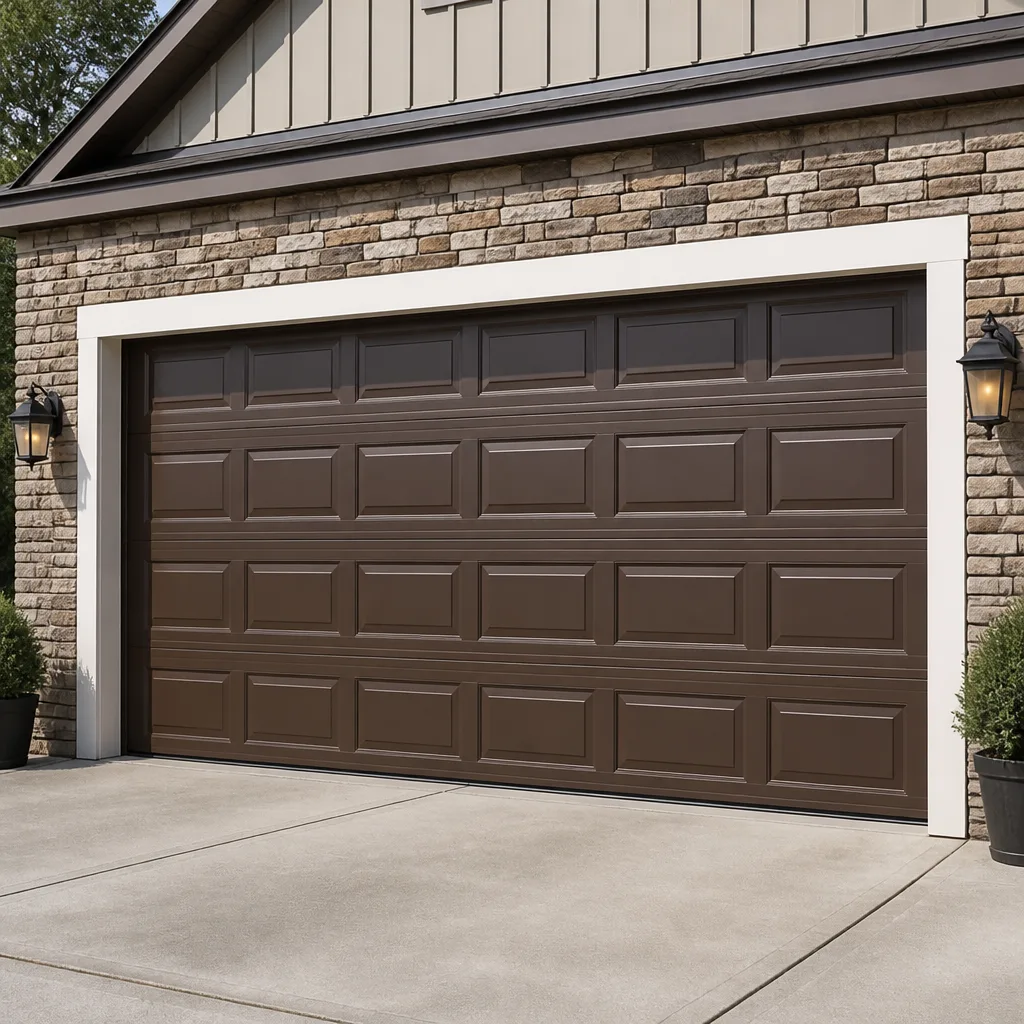 Raised-panel steel
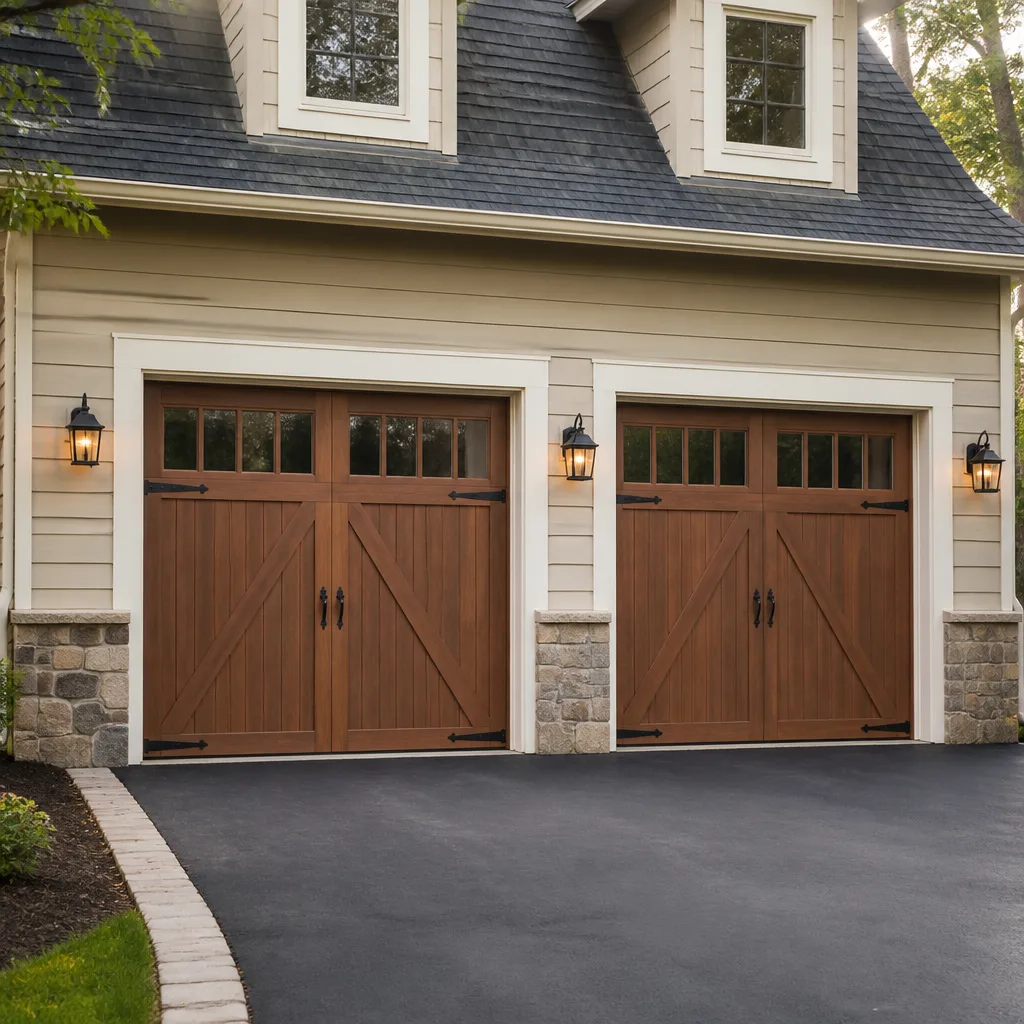 Carriage house
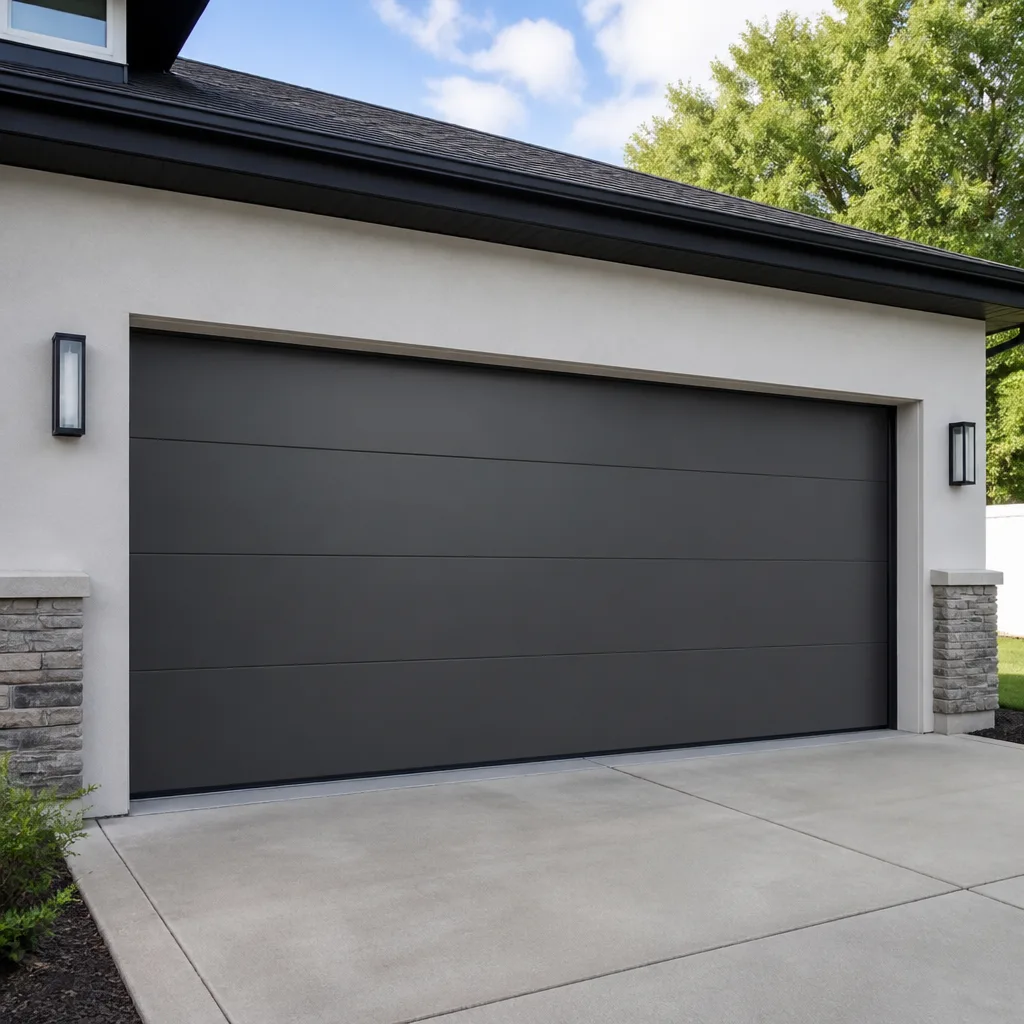 Modern flush
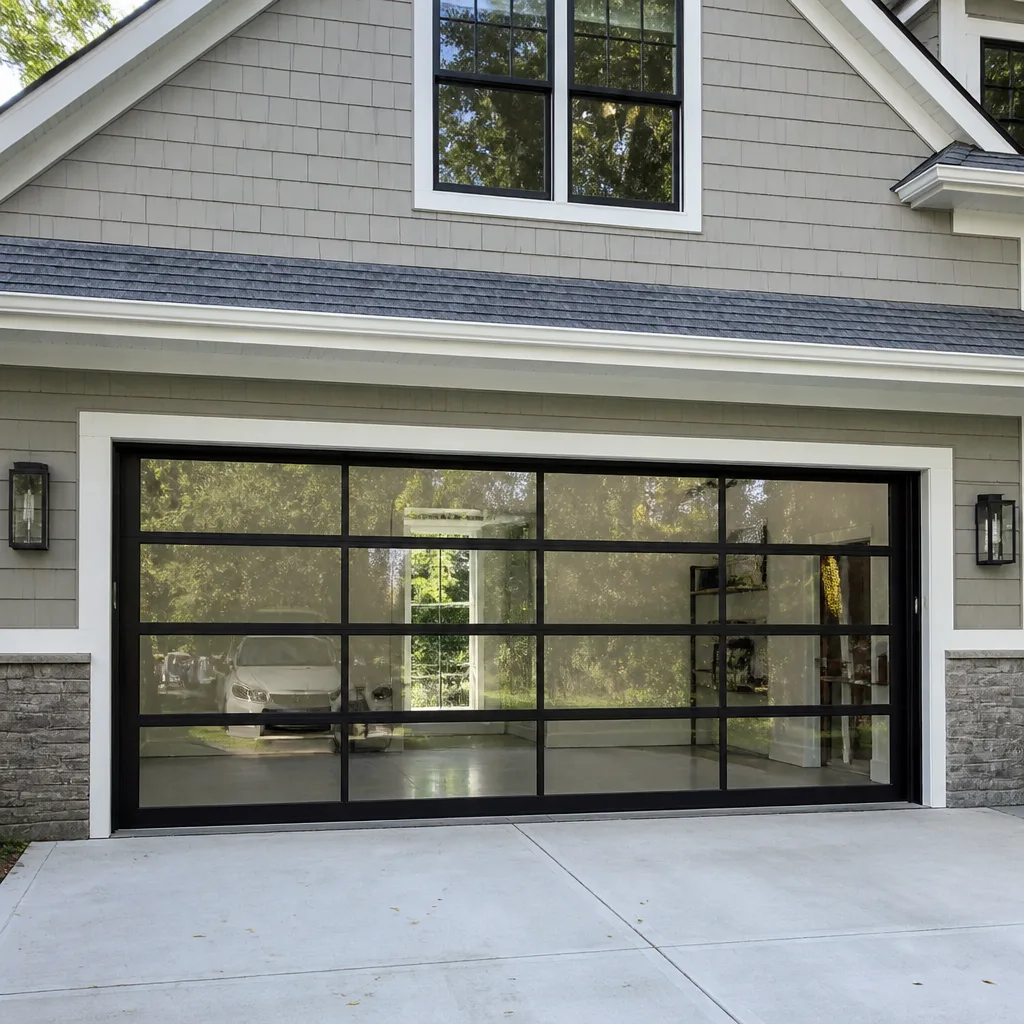 Full-view glass
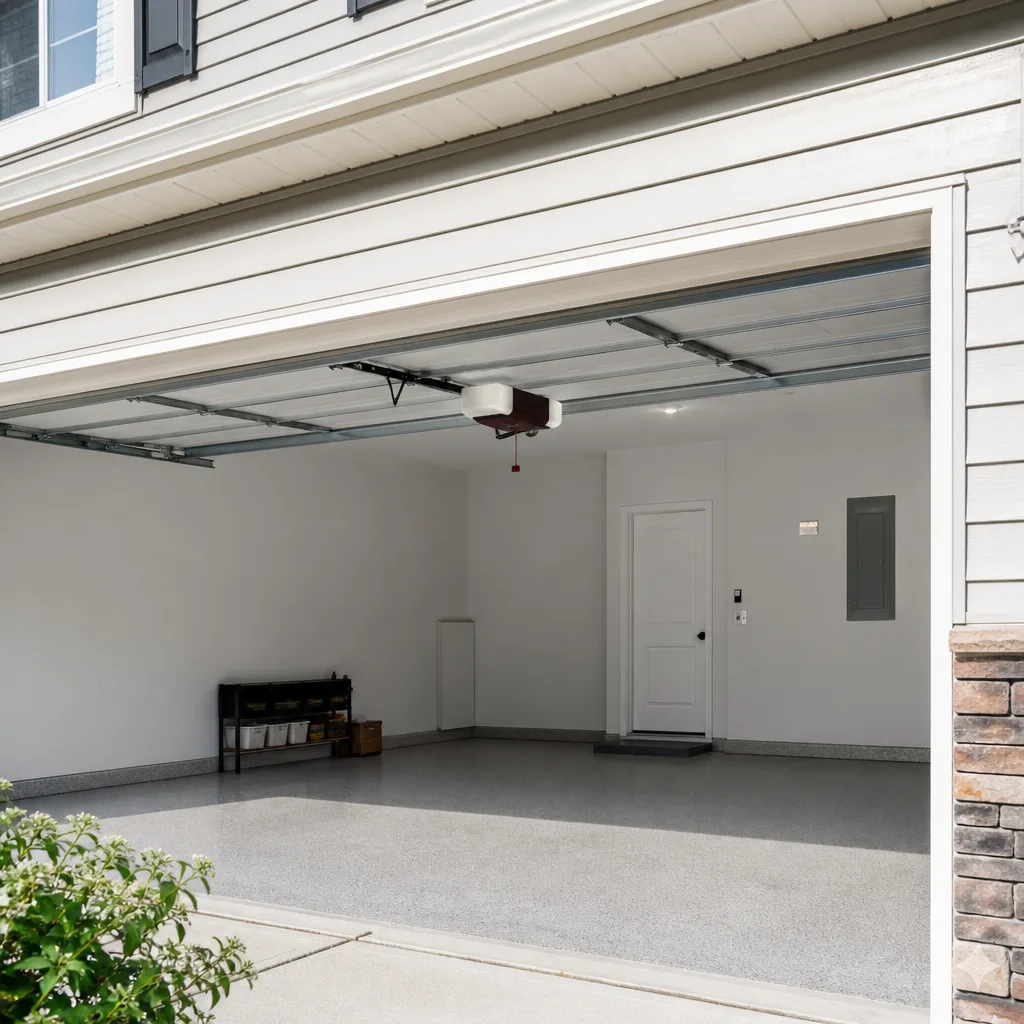 LiftMaster openers
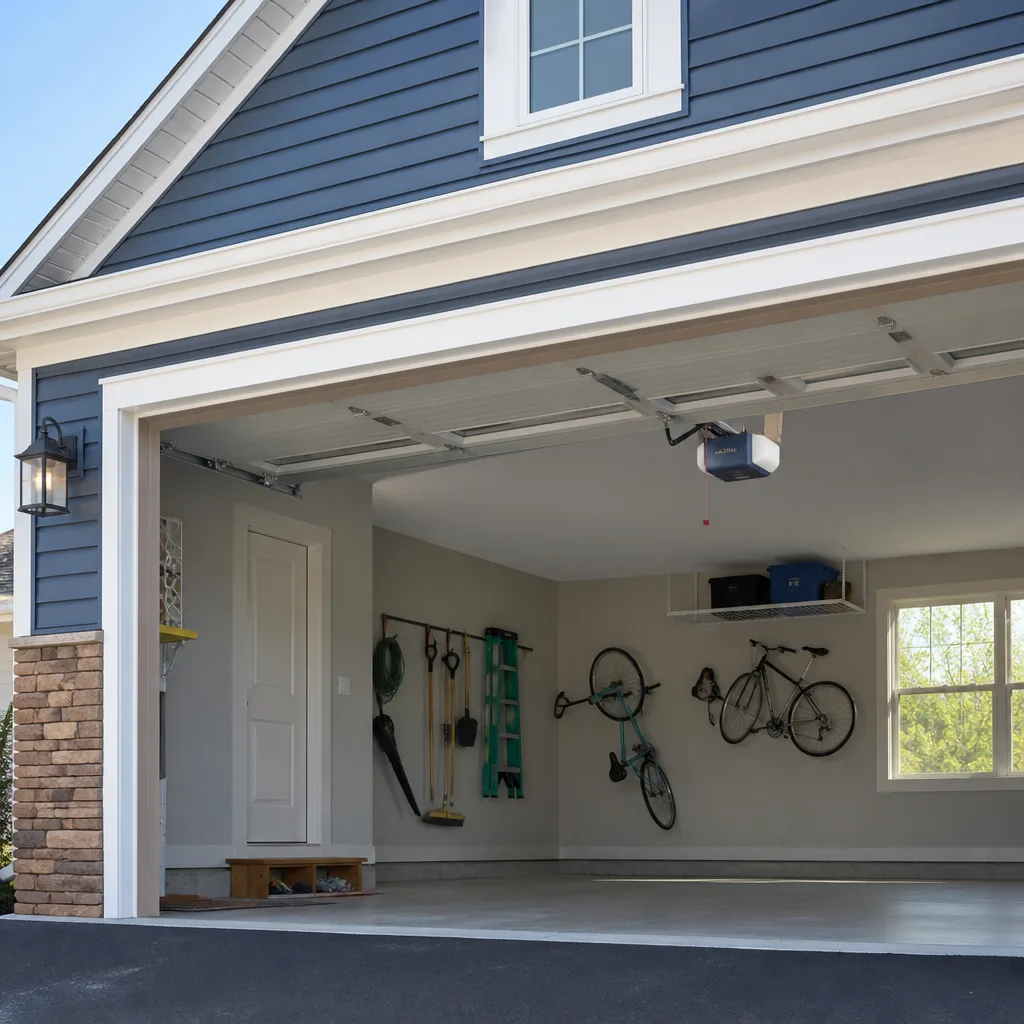 Chamberlain openers
Full 25-point door and opener safety check with every visit - springs, cables, rollers, tracks, and your LiftMaster or Chamberlain opener included
You get a price before we start. It does not change when the truck arrives.
Get your free estimateGarage Door Repair Troubleshooting: Common Problems and How to Fix Them
Here’s something that surprises most Riverside homeowners: a garage door that reverses before hitting the floor is almost always blamed on the safety sensors, but in more than half of the cases we see, the real culprit is a misadjusted down-limit screw or a worn bottom seal catching the threshold. Replacing sensors doesn’t fix that. What follows is a diagnostic framework built on the three subsystems inside every garage door system: mechanical, electrical, and structural. Learn to isolate which one is failing before you touch anything, and you’ll stop chasing symptoms and start fixing root causes. This guide was written by a garage-door-only shop in Riverside, CA, where summer heat and Santa Ana winds create failure patterns you won’t see in a generic YouTube video.
Quick Answer
Garage door repair troubleshooting means isolating the failure to one of three subsystems: mechanical (springs, cables, rollers), electrical (opener logic board, sensors, wiring), or structural (tracks, panels, weatherstripping), then applying the specific fix for that subsystem. Start with a manual disconnect test to determine whether the problem is the door itself or the opener. Most mechanical issues involving torsion springs or cables require a trained professional, while many sensor and limit-setting fixes are safe DIY adjustments.
Styles & brands we work with
Table of Contents
- The Three-Subsystem Diagnostic Model
- The Manual Disconnect Test: What Your Door Is Telling You
- Door Won’t Open: Electrical vs. Mechanical Causes
- Door Reverses Before Hitting the Floor: Beyond the Sensor Blame Game
- Opener Error Code Meanings by Brand
- Sensor Alignment: Why the Indicator Lights Lie
- Noise Diagnostics: What Grinding, Squealing, and Rattling Each Mean
- Riverside-Specific Failure Patterns Homeowners Should Know
The Three-Subsystem Diagnostic Model
Every garage door system, regardless of brand, breaks down into three subsystems. When a door misbehaves, the first question isn’t “What’s the symptom?” It’s “Which subsystem is failing?” Symptoms overlap constantly. A door that opens halfway and stops could be a broken spring (mechanical), a failing logic board (electrical), or a bent track (structural). Guessing wastes time and money.
Mechanical subsystem: torsion springs, extension springs, cables, rollers, hinges, bearings. These parts handle the physical work of lifting the door’s weight. In our experience across Riverside, mechanical components account for roughly 60% of all repair calls we see. Springs have a finite cycle life, typically rated between 10,000 and 20,000 cycles depending on quality. When they fail, they fail without warning.
Electrical subsystem: the opener motor, logic board, safety sensors, wall control, remote transmitters, and the wiring connecting them. These components tell the door when to move and how far. Electrical failures are often intermittent, which makes them frustrating to diagnose. A logic board that overheats in a hot Riverside garage may work fine for weeks, then randomly stop responding.
Structural subsystem: tracks, mounting brackets, panels, weatherstripping, and the door frame itself. These parts guide the door and keep it sealed. Structural issues often masquerade as mechanical ones. A door that binds halfway up may have a track that’s shifted out of alignment, not a spring problem. On older Riverside homes with settling foundations, track misalignment is more common than homeowners expect.
The diagnostic order matters. Always check structural alignment first because it’s free to inspect and easy to rule out. Then perform the manual disconnect test to separate mechanical from electrical. Only then should you start adjusting settings or replacing parts.
This framework is how we diagnose every service call in Riverside, whether the door is a garage door repair in Riverside job on a 1980s wood door or a newer Clopay steel model. The brand of the door doesn’t change the physics; it only changes which parts are most likely to fail and how they’re configured.
The Manual Disconnect Test: What Your Door Is Telling You
The single most useful diagnostic step in garage door repair troubleshooting is also the one most guides skip. Pull the red emergency release cord hanging from your opener rail. This disconnects the door from the opener carriage, allowing you to operate the door by hand. What happens next tells you more than any error code.
Here’s the exact sequence:
- Close the door completely before pulling the release cord. Never disconnect an opener while the door is open, especially if the door is heavy or the springs are in questionable condition.
- Pull the red cord straight down until you hear it click. The door is now free of the opener.
- Grip the door handle or bottom edge and lift. A properly balanced door should rise smoothly with moderate effort and stay in place about waist-high when released.
- Lower the door to the floor. It should descend smoothly without slamming or binding.
If the door feels heavy or won’t stay open on its own, the springs have lost tension or failed entirely. No amount of opener adjustment will fix that; the opener motor is simply being asked to do work the springs should be doing. Continuing to run the opener with weak springs burns out opener gears and logic boards prematurely.
If the door operates smoothly by hand but misbehaves when connected to the opener, the issue is electrical. The opener’s travel limits, force settings, or sensor input are the likely culprits. In this scenario, a garage door opener repair in Riverside visit is often the efficient path, because opener diagnostics require testing components most homeowners don’t keep spare parts for.
If the door binds at a specific point when lifted by hand, you’ve found a structural problem: a bent track section, a roller that’s seized, or a panel that’s out of line. Mark the spot where it binds, then inspect that section of track closely.
One caution from years of Riverside service calls: if the door is heavy and a spring appears broken, do not attempt to open it fully by hand. A door with a broken spring can drop without warning. Call a professional immediately. Garage doors are all we do, and we’d rather walk you through a safe diagnosis by phone than see someone injured.
Door Won’t Open: Electrical vs. Mechanical Causes
A door that won’t open is the most common service call we get in Riverside, and the cause splits almost evenly between electrical and mechanical. The question is which one you’re dealing with, and the manual disconnect test answers it within two minutes.
Electrical causes to check first:
- Wall control failure: If the wall button doesn’t work but a remote does, the wall control is dead. If neither works, the opener isn’t receiving power or the logic board has failed. Check the GFCI outlet the opener plugs into; Riverside homes often have a GFCI on the garage circuit that trips during rain or power surges and takes the opener down with it.
- Remote signal interference: LED garage lights, particularly certain older models, emit RF interference that blocks remote signals. If your remote works only when you’re inches from the opener, this is the likely cause. Turn off the LED lights and test again.
- Lock mode engaged: Most opener wall controls have a lock button that disables remote operation. It’s a safeguard, but it’s easy to press accidentally. Check the wall control for a blinking lock icon.
- Safety sensor misalignment: If the sensors are blocked or misaligned, the opener will refuse to close, but it should still open. If the door won’t move in either direction, sensors are unlikely to be the primary cause. This distinction matters.
Mechanical causes to check second:
- Broken torsion spring: You’ll usually hear a loud bang from the garage when a spring snaps, but not always. Inspect the spring above the door; if there’s a visible gap in the coil, it’s broken. Do not attempt to open the door by hand or with the opener. Call a professional.
- Snapped cable: Cables run alongside the door on both sides. If one is frayed or hanging loose, the door will lift unevenly or not at all. Cable failures on torsion spring systems are dangerous because the spring is still under tension.
- Seized roller or bearing: A roller that has stopped rotating will bind the door in its track. With the door disconnected, you’ll feel resistance at one specific point. A seized roller can sometimes be freed with lubrication, but the permanent fix is replacement.
The opener motor itself rarely fails completely. More often, it’s a capacitor, gear, or logic board component. If the motor hums but the door doesn’t move when connected, the drive gear is likely stripped, a common failure on older LiftMaster and Chamberlain units after years of use. That’s a repair we handle frequently for Riverside homeowners who’d rather fix a solid opener than replace an entire system unnecessarily.
Door Reverses Before Hitting the Floor: Beyond the Sensor Blame Game
The most misdiagnosed symptom in garage door troubleshooting is a door that starts closing, then reverses back up before touching the ground. Homeowners immediately suspect the safety sensors, and sometimes they’re right. But our Riverside technicians find that sensor misalignment is the actual cause in only about 40% of these calls. Here’s what else makes a door reverse.
The down-limit setting: Your opener is programmed to travel a certain distance downward. If the down-limit is set too far, the opener tells the door to keep pushing after it’s already hit the floor. The opener’s force sensor interprets the resistance as an obstruction and reverses the door. The fix is adjusting the down-limit screw or setting, not touching the sensors. This is the single most common cause of phantom reversing, and almost no troubleshooting guide addresses it.
The bottom seal catching: On older doors, the rubber weatherstripping along the bottom edge can warp, crack, or become brittle in Riverside’s summer heat. If a section of the seal catches on the concrete threshold while the door is closing, the door physically stops, the opener senses the resistance, and reverses. Run your hand along the bottom seal (with the door open and disconnected, not while it’s moving) and feel for rigid sections. Replacing a bottom seal is a simple fix that costs far less than a service call.
The force setting drifting: Openers have a force-adjustment mechanism that tells the motor how much resistance to expect. Over time, as rollers wear and tracks accumulate dust from Riverside’s dry climate, the door’s natural resistance increases. The opener’s force setting may now be too low for the door’s current condition, causing it to reverse on the way down as a false obstruction warning. A qualified technician can increase the force setting slightly, but this must be done carefully. Force settings exist primarily for safety; too much force means the door will not reverse when it hits a real obstruction.
The sensor alignment question: If the sensors are genuinely the problem, both sensor lights should be visible. One sensor has a green light, the other an amber or red light. If either light is blinking, the sensor isn’t aligned. But here’s the catch we mentioned in the introduction: in bright sunlight conditions common in Riverside, direct sun can wash out the infrared beam, making the receiving sensor blink even when alignment is perfect. Shade the sensor with your hand and see if the light goes solid. If it does, the problem is the sun, not the alignment.
Opener Error Code Meanings by Brand
Modern openers communicate through error codes, but each manufacturer uses a different language. If you don’t know the code’s meaning for your specific brand, you’re guessing. Here are the most useful error codes for the brands we service most in Riverside.
LiftMaster and Chamberlain Codes
- 1-1 or one up arrow flash: The opener has reached its maximum force threshold and reversed. This usually means the door is binding, a spring is weak, or the force setting is too low.
- 1-2 or two up arrow flashes: The opener’s internal thermal protection has activated. The motor was worked too hard, usually from repeated cycles or a heavy door. Let it cool for 15 minutes, then address the underlying cause.
- 2-1 or one down arrow flash: The safety sensors are blocked, misaligned, or faulty. This is the code that gets blamed for everything, and it’s accurate about a third of the time.
- 4-1 through 4-6: Force or RPM sensor errors indicating the opener’s motor controller is failing or the travel module needs replacement. These require a technician.
Genie Codes
- One red flash, pause, repeat: The safety sensors are not making contact. Check alignment and wiring.
- Two red flashes: The opener’s force setting is incorrectly set or the door is binding. The opener is working too hard.
- Three red flashes: The logic board is not receiving power properly or has failed. This is rarely a DIY fix.
- Four red flashes: The RPM sensor has detected the motor is running too fast or too slow, often indicating a worn gear or damaged motor shaft.
Wayne Dalton Codes
Wayne Dalton’s newer openers, particularly the 8300 and 8500 series, use a different system. The LED on the wall control flashes a sequence of long and short pulses. Two long, two short indicates a wiring fault between the wall control and the opener. Three long, one short indicates a motor circuit failure. Because Wayne Dalton openers are less common than LiftMaster or Genie in Riverside, many generalist technicians don’t know these codes, which is why Blue Ribbon Garage Door Repair home technicians carry brand-specific diagnostic references for every call.
Error codes are a starting point, not a conclusion. A 1-2 thermal code on a LiftMaster might mean the motor is genuinely overheating, or it might mean a failing capacitor is simulating an overheat condition. Cross-reference the code with the manual disconnect test before spending money on parts.
Sensor Alignment: Why the Indicator Lights Lie
Safety sensors sit about six inches off the floor on both sides of the garage door opening. One sends an infrared beam; the other receives it. If the beam is interrupted, the receiving sensor signals the opener to stop closing. Simple in theory, finicky in practice.
Step-by-step alignment sequence:
- Identify the sending and receiving sensors. The sending sensor usually has an amber or red light; the receiving sensor has a green light. If both lights are solid, the sensors are aligned and communicating.
- If the receiving sensor light is blinking or off, check for physical obstructions first: leaves, tools, cobwebs, a broom handle leaning against the wall. Riverside’s dry winds blow debris into garages constantly.
- Check if the sensor mounting bracket has been knocked out of position. Even a one-eighth-inch shift is enough to break the beam. This happens when garbage cans, bicycles, or car bumpers hit the bracket.
- To mechanically verify alignment, block the beam with your hand. The sending sensor light should stay solid; the receiving sensor light should turn off or blink. Remove your hand. The receiving light should return to solid. If it doesn’t, alignment or wiring is the issue.
- Adjust the bracket slowly while watching the receiving sensor light. When the light goes solid, the beam is aligned. Tighten the bracket gently but firmly; over-tightening can crack the plastic housing, especially on older sensors that have been baking in Riverside heat for a decade.
The sunlight problem: Direct sunlight, particularly at certain angles in the late afternoon, can overwhelm the infrared receiver just like it overwhelms your TV remote. The receiving sensor blinks, the door won’t close, and you spend an hour adjusting alignment that was fine all along. The fix is to create shade: a small cardboard hood taped above the sensor, repositioning the sensor slightly, or swapping the sending and receiving sensors if your opener model allows it.
Wiring failures: Sensors are wired with low-voltage staples along the garage wall. Those staples can work loose, nick the wire, or pull it from the sensor terminal. A sensor that intermittently loses power will blink unpredictably. Test by jiggling the wire near the sensor and near the opener while watching the light.
If sensors are aligned, shaded, and wired correctly but still blinking, the sensor itself has failed. Sensors from different opener brands are not interchangeable, even though they look similar. A Genie sensor won’t communicate properly with a LiftMaster logic board, and vice versa. Knowing the brand matters, which is why we carry sensors for all major brands rather than hoping a universal part will work.
Noise Diagnostics: What Grinding, Squealing, and Rattling Each Mean
Garage doors make noise. Some noise is normal; a smooth, low rumble as the door travels. But different sounds mean different things, and some sounds are early warnings of failures that will become expensive if ignored. Here’s what each tells us during Riverside service calls.
Grinding or metallic scraping: A grinding sound most often comes from the opener’s drive gear. Worm-drive openers, particularly older LiftMaster and Craftsman units, have a plastic drive gear that strips after years of use. Once the gear teeth are worn, the metal worm shaft spins against the stripped gear and produces a grinding noise. The door may still move, but the gear will continue to degrade. Replacement is straightforward, but the opener must be disassembled. Grinding can also come from a roller that has lost its bearings and is scraping metal-on-metal against the track.
Squealing or high-pitched whining: This usually points to a bearing. Rollers without sufficient lubrication squeal, as do the torsion spring shaft bearings above the door. A squeal that happens only when the opener runs, but not when the door is operated manually, points to the opener motor bearings or the belt tensioner. On belt-drive openers, a loose belt can squeal like a car’s accessory belt.
Rattling or chattering: A rattle typically means something is loose. The most common sources are the opener rail fasteners, the door’s hinge screws, or the track mounting bolts. Riverside’s frequent temperature swings cause metal expansion and contraction, which gradually works fasteners loose. A rattle that happens only at specific points in the door’s travel often indicates a hinge that’s loose on one panel. Tighten all accessible fasteners first, then listen again. A persistent rattle that doesn’t respond to tightening suggests a roller that’s worn and bouncing slightly within the track.
The early-warning rattles no one takes seriously: A slight wobble in one cable, a minor change in the door’s rhythm, a sound that wasn’t there last month. These small changes are often the first sign that a cable is fraying or a spring is losing tension. Cables under thousands of pounds of tension don’t make a dramatic sound before they fail; they make a small sound, then they fail. If you notice a change in how your door sounds or feels, don’t wait for the failure. In Riverside, we see too many homeowners who ignored a minor noise change and ended up with a door that came off its tracks and required a garage door installation in Riverside rather than a simple repair.
Riverside-Specific Failure Patterns Homeowners Should Know
Garage doors fail differently in Riverside than they do in coastal cities or colder climates. The dry heat, the temperature swings, and the Santa Ana winds create specific patterns that any Riverside homeowner should factor into their troubleshooting.
Spring embrittlement from heat: Torsion springs are rated for a certain number of cycles, but environmental factors shorten that lifespan. A spring in a non-insulated Riverside garage sits in 110-degree ambient heat for months each year. That heat accelerates metal fatigue, particularly in springs manufactured more than a decade ago. We replace more springs in August and September than in any other months, because the cumulative effect of summer heat pushes marginal springs past their limit.
Seal and weatherstripping degradation: Rubber components dry out and crack in Riverside’s low-humidity climate. Bottom seals become rigid, panel seals shrink, and the result is more than just a draft or dust intrusion. A rigid bottom seal catches on the threshold and triggers unexplained reversing, as discussed earlier. A dried panel seal lets dry Santa Ana dust into the garage, which accumulates on rollers and tracks and accelerates wear.
Track expansion and contraction: Metal tracks expand and contract daily with Riverside’s characteristic 30-degree temperature swings between night and afternoon. Over years, this stress can shift mounting brackets out of alignment, especially on the southwest-facing walls of garages that get direct afternoon sun. A door that binds only in the afternoon but works fine in the morning is often a track-alignment issue caused by thermal expansion.
Opener overheating: Opener motors and logic boards don’t like sustained heat. A garage that doesn’t have ventilation and sits in Riverside’s summer sun can reach 130 degrees inside. Logic boards fail prematurely under these conditions, and the thermal protection circuits trip more often. If your opener randomly stops working on hot afternoons but works fine in the evening, overheating is the likely explanation, and it’s a problem we see regularly on opener repair calls in Riverside’s older tract home neighborhoods.
Common Mistakes to Avoid
- Replacing sensors before checking the down-limit setting. Sensors get blamed for most reversing problems, but the down-limit and force settings are the actual cause in many cases. Adjusting a limit screw is free; replacing sensors is not.
- Running the opener after a spring breaks or weakens. The opener will try to lift the door itself, and the strain burns out gears, capacitors, and logic boards. The manual disconnect test tells you if the springs are doing their job before the opener gets involved.
- Assuming all error codes mean what online forums say they mean. Brand-specific codes exist for a reason. A code that means “sensor blocked” on a Genie opener means something entirely different on a Wayne Dalton. Get the manual for your specific brand, or call someone who already knows it.
- Lubricating without cleaning first. Applying new lubricant over the accumulated dust and grit of a Riverside summer creates an abrasive paste that accelerates roller and track wear. Wipe tracks and rollers clean, then apply a garage-door-specific lubricant.
- Ignoring small noise changes. A minor rattle or a slight change in the door’s sound is often the only warning before a cable or spring failure. Treating the noise as an annoyance rather than a symptom leads to avoidable emergency repairs.
- Trying to adjust or replace torsion springs without training. Torsion springs hold enormous tension. A spring releasing unexpectedly can cause serious injury. This is the one repair where the risk of DIY is genuinely unacceptable, no matter how many videos you’ve watched.
- Delaying a professional diagnosis because the door partially works. A door that opens but won’t close, or closes but grinds, is a door that’s failing. The longer it runs in a degraded state, the more components take damage. A diagnosis call is cheaper than a full replacement.
See the difference
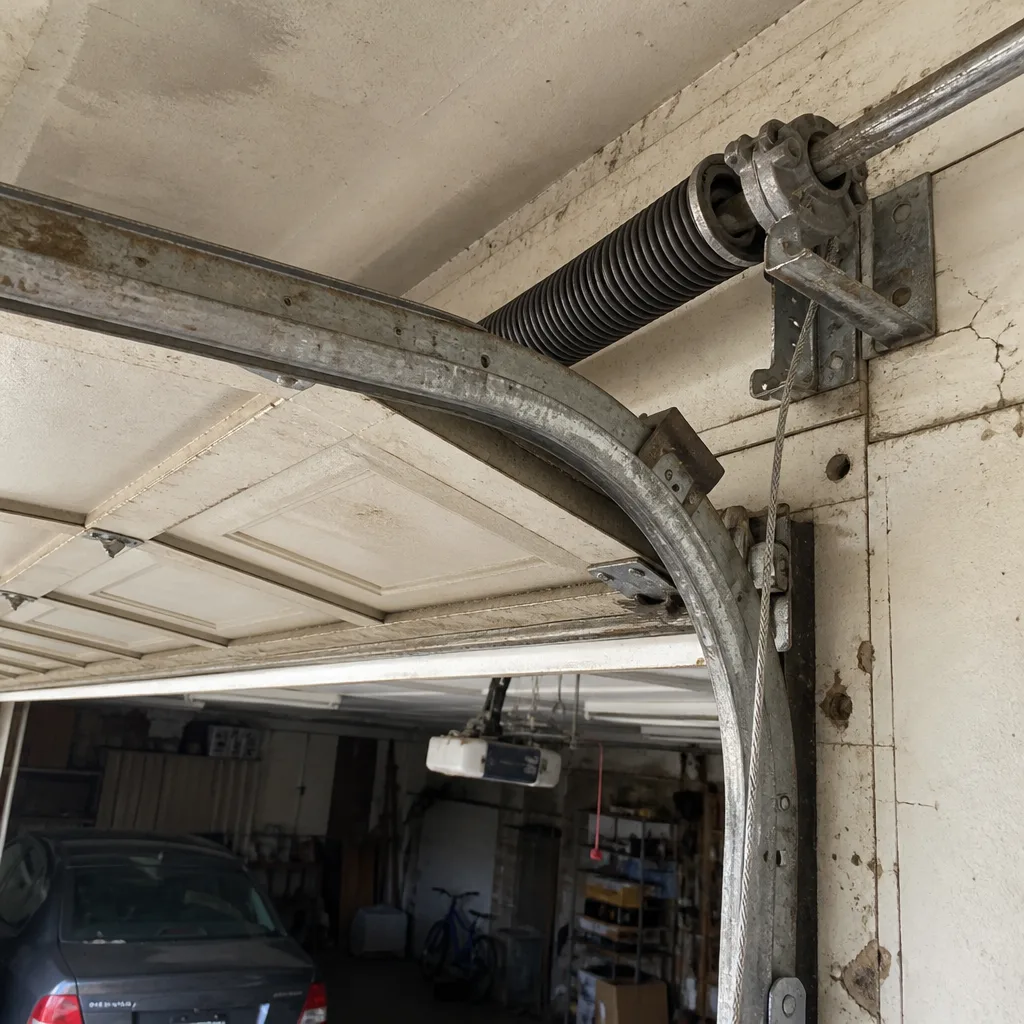 Before
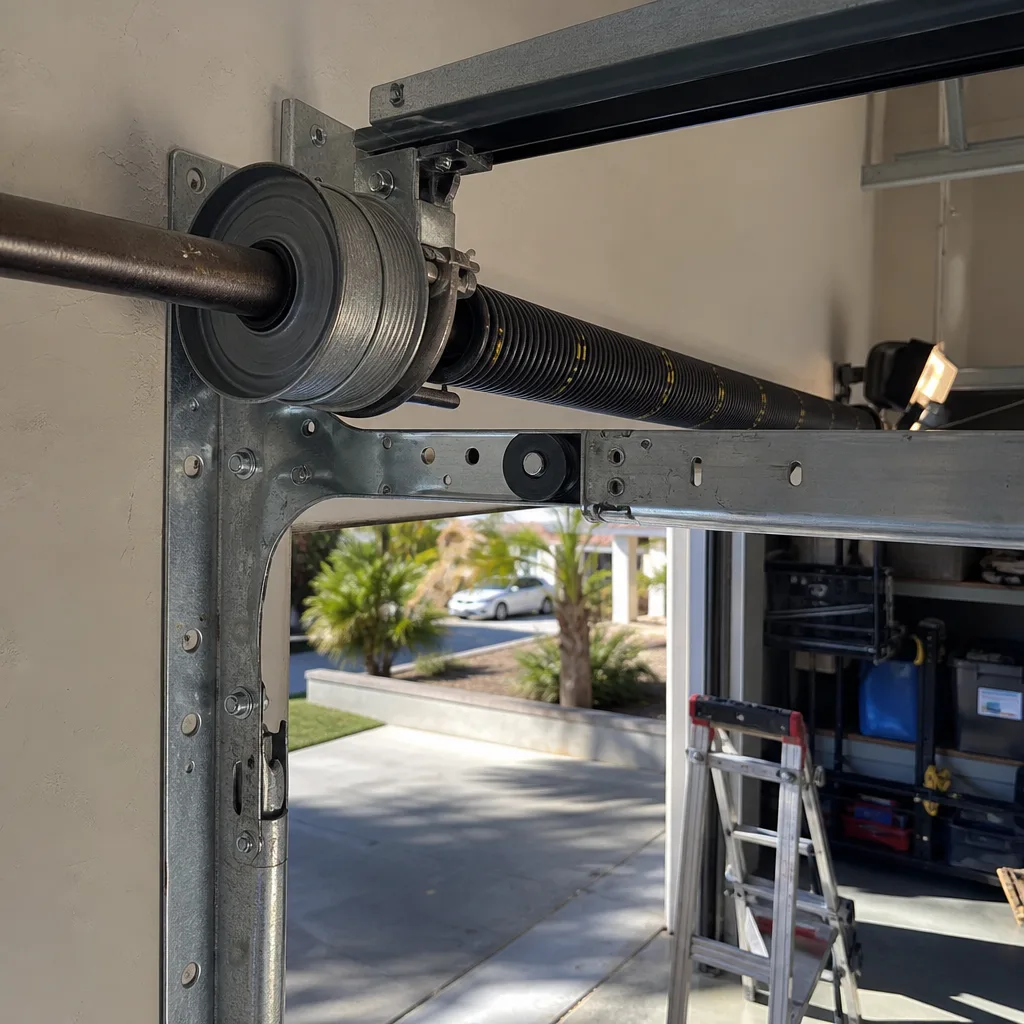 After
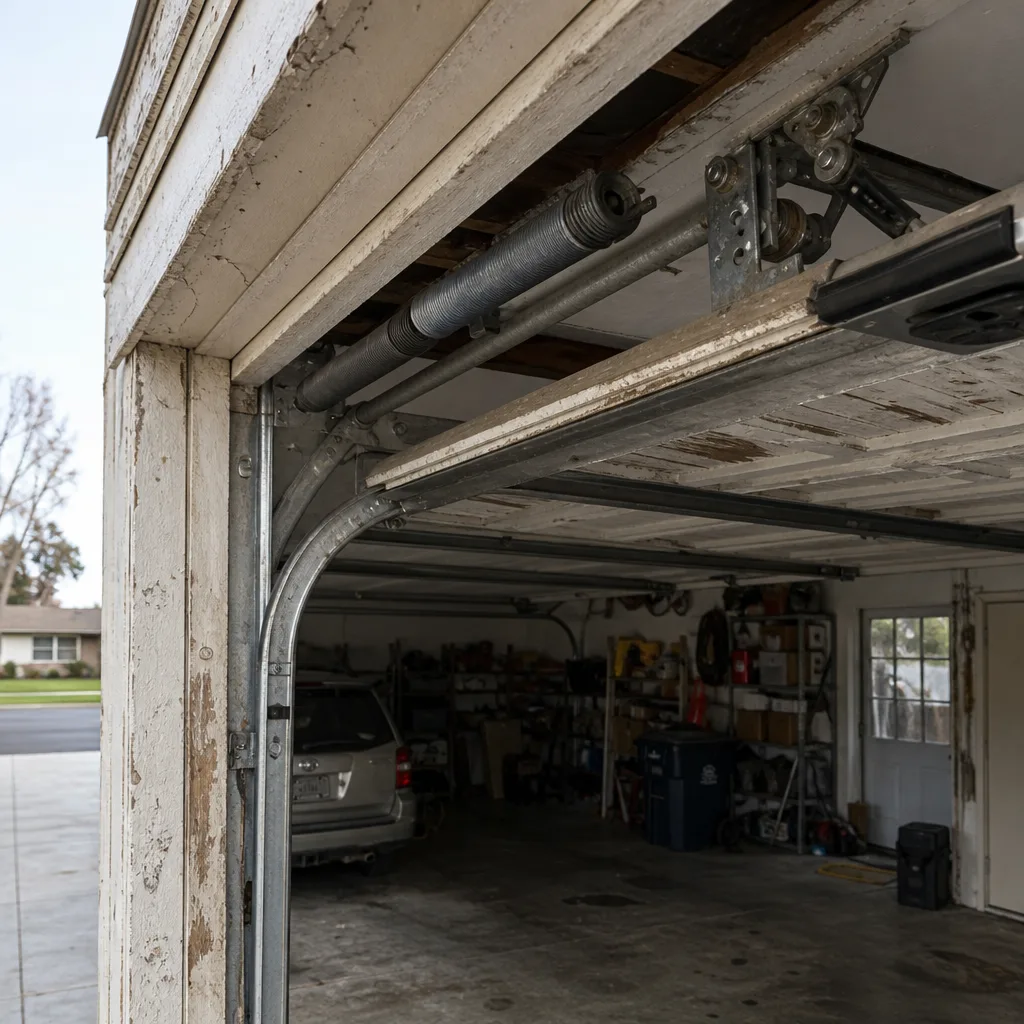 Before
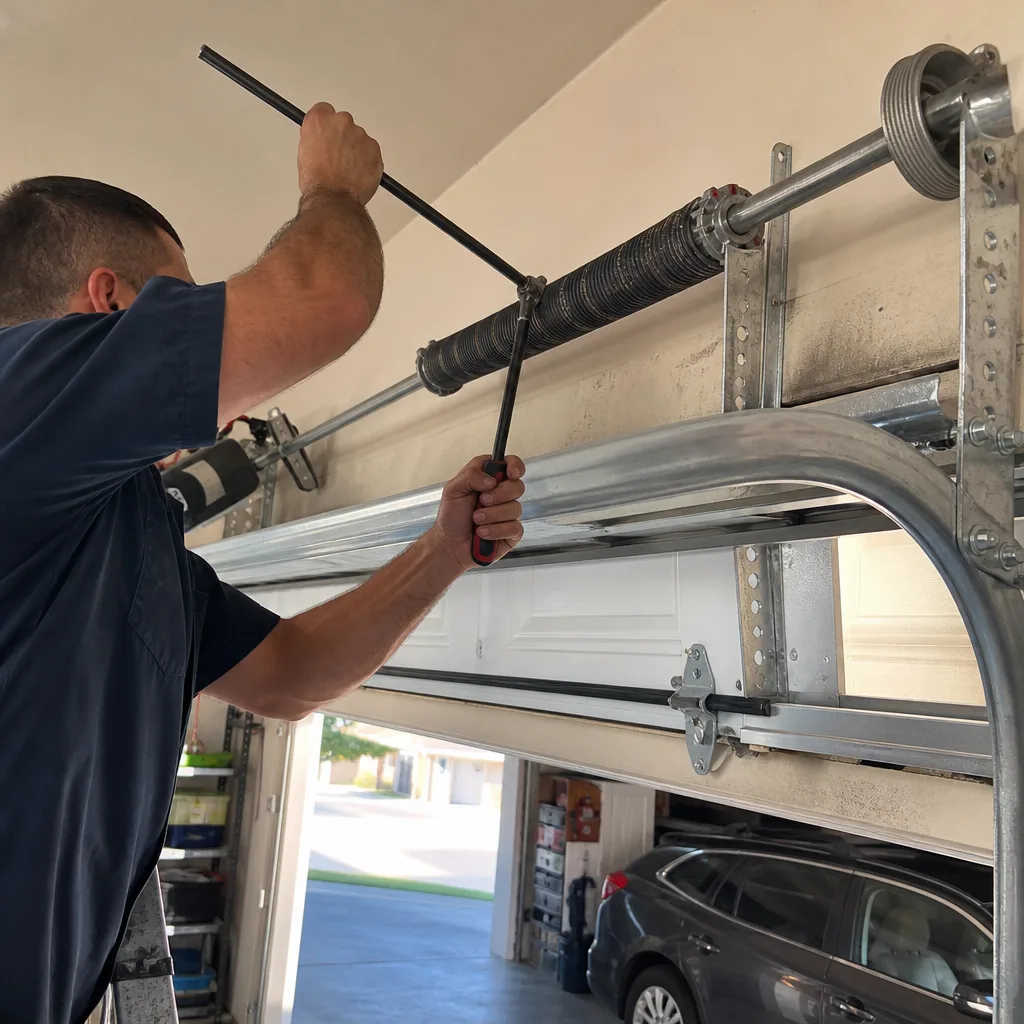 After
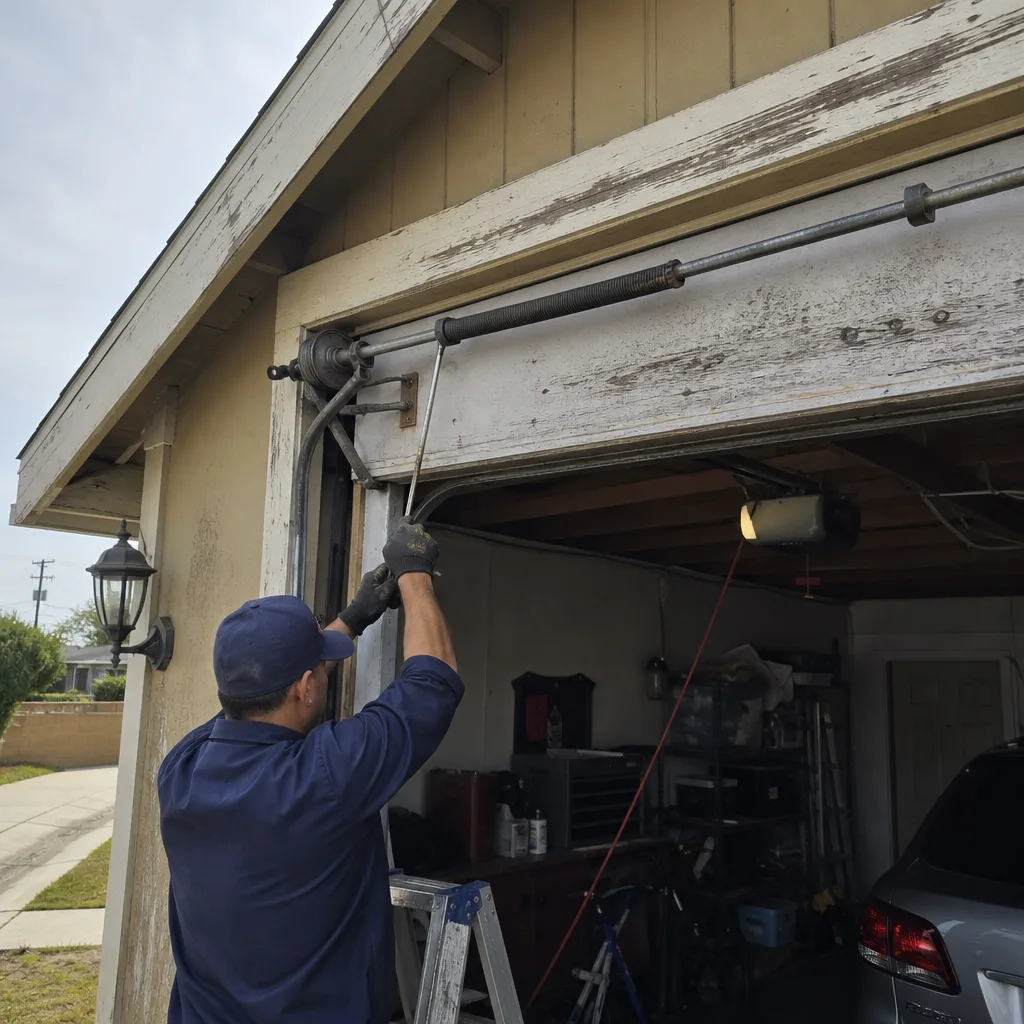 Before
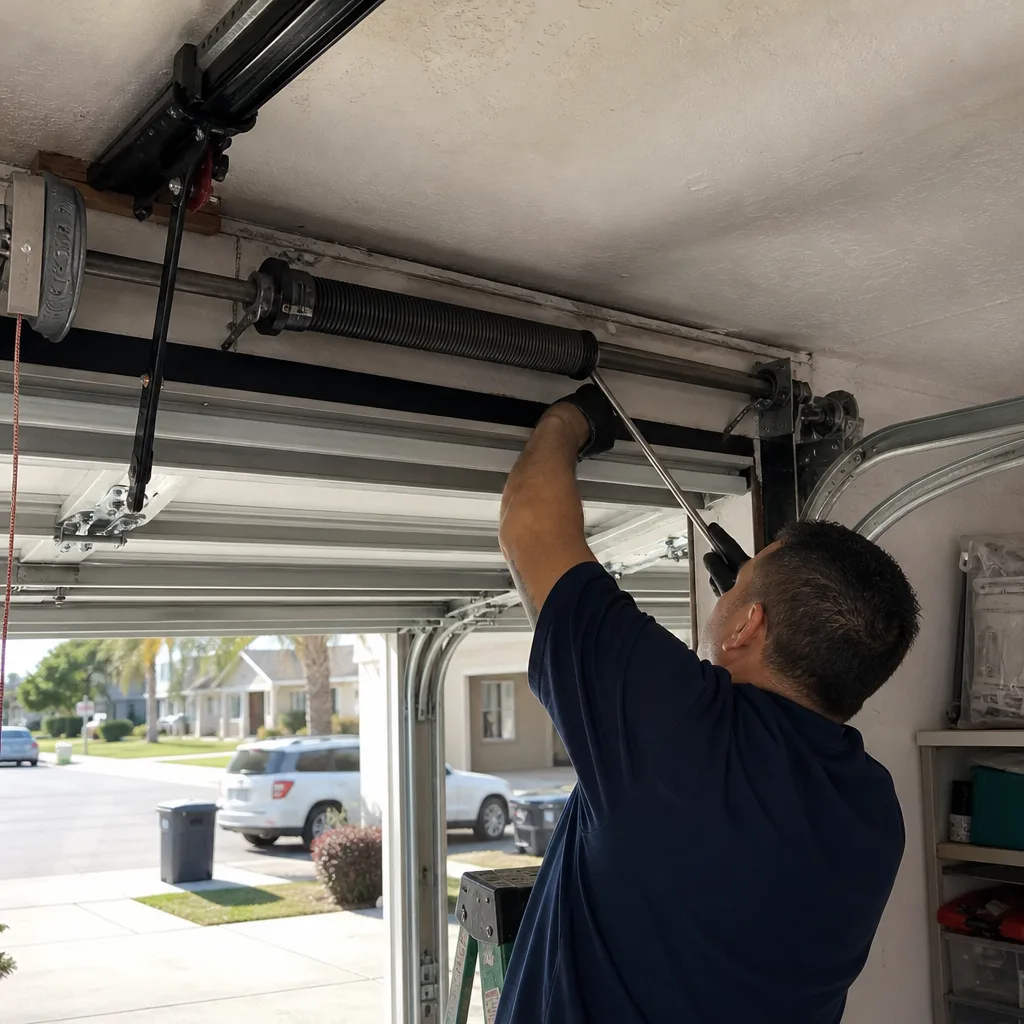 After
When to Call a Professional
Some garage door problems are safe and straightforward DIY fixes: sensor realignment, limit adjustments, lubrication, bottom-seal replacement. Others are genuinely dangerous or require tools and training most homeowners don’t have. Call a professional immediately if you see a broken torsion spring, a frayed or snapped cable, a door that’s come off its tracks, or any situation where the door feels heavier than normal when operated manually. These conditions involve stored mechanical energy that can release without warning. If you’ve run through the diagnostic steps in this guide and the issue remains unclear, or if your opener is showing an error code you don’t recognize, a trained technician’s diagnostic visit is cheaper than guessing wrong. Blue Ribbon Garage Door Repair offers free estimates in Riverside, and we work on the brand you already have rather than trying to sell you a different one. Call (877) 283-1083 for a diagnosis.
Frequently Asked Questions
Your garage door reverses before hitting the floor because the opener’s force sensor is detecting resistance. The most common causes are a misadjusted down-limit setting, a worn bottom seal catching on the threshold, or the safety sensors being misaligned or washed out by sunlight. Start by checking the down-limit setting and the bottom seal before replacing any sensors. Call (877) 283-1083 for a Riverside garage door diagnosis if the problem persists.
Garage door repair costs in Riverside vary by the type of repair, but common fixes like sensor realignment, limit adjustments, and lubrication are typically inexpensive, while spring replacement and opener logic board repairs cost more. The most accurate way to know your cost is a diagnosis call, which provides a written quote before any work begins. Blue Ribbon Garage Door Repair provides free estimates; call (877) 283-1083 for an exact quote on your specific issue.
No, you should not attempt to fix a broken garage door spring yourself. Torsion springs are wound under extreme tension, and an incorrect removal procedure can release that tension suddenly, causing serious injury or death. Spring replacement requires specialized winding bars, proper safety procedures, and an understanding of spring sizing that relates to your door’s specific weight and dimensions. Call a professional; this is not a DIY repair.
Intermittent opener failure is usually caused by one of three things: overheating (common in Riverside’s hot garages), a failing capacitor, or RF interference from LED lights. If the failure happens only on hot afternoons, thermal protection is likely tripping and the opener needs ventilation or capacitor replacement. If the remote works inconsistently but the wall button always works, RF interference is the likely cause. Call (877) 283-1083 for a full diagnostic.
Use the manual disconnect test. If the door feels heavy and won’t stay open by itself, the springs have lost tension or failed and need replacement. If the door opens smoothly by hand but misbehaves when connected to the opener, the springs are probably fine and the opener settings need adjustment. This test takes two minutes and gives you a clear answer before spending money on parts.
Yes, Blue Ribbon Garage Door Repair technicians work on LiftMaster, Chamberlain, Genie, Clopay, Amarr, Wayne Dalton, Craftsman, and Raynor openers and doors. We carry brand-specific parts and references for each manufacturer, which means we don’t guess at error codes or improvise with universal parts. Garage doors are all we do, and we work on the brand you already have.
The Bottom Line
Garage door troubleshooting stops being a guessing game when you apply the three-subsystem model. Mechanical, electrical, or structural: one of these is the source of every symptom, and the manual disconnect test is the fastest way to narrow the field. Brand-specific error codes provide useful confirmation, but they’re only as good as your knowledge of the brand in question. Small symptoms warrant more attention than they get; a minor noise change or a slight wobble is a warning, not an inconvenience. The right fix, not the easy fix, is the standard that keeps a door running safely for years. For Riverside homeowners, that’s a standard worth holding.
Written by the team at Blue Ribbon Garage Door Repair, serving Riverside since 2013.